Oracle WebLogic Server 14.1.1.0.0 Installation on Oracle Linux 7.9
We’ve been waiting for the 14c version for a long time :)

Oracle already made a lot of documents regarding WebLogic installation. But difficult to find the best one to read. Means, we need to take a lot of time to read. So I consider to write this one in short. Hope you can perform a clean installation if you follow the document carefully and follow the steps.
Oracle WebLogic.. Whats that ?
WebLogic is an Oracle product that performs the role of the application server. The software application is a middleware that connects between back-end applications like databases and related applications with browser-based thin clients. WebLogic is used to develop and deploy J2EE applications. J2EE is the standard platform for developing multitier enterprise applications based on the Java programming language. For more information on WebLogic.
Steps to install Oracle WebLogic Server 14.1.1.0.0
Prerequisites
- Download the WebLogic Server and Java SE software. The examples in this article use the following.
Java SE 11 (jdk-11.0.18_linux-aarch64_bin.tar.gz)
WebLogic Server 14cR1 (14.1.1.0.0) (fmw_14.1.1.0.0_wls.jar)
2. You can use a Virtual Machine to create an Oracle Linux server. I created Free Oracle Linux Instance on Oracle Cloud Infrastructure for this study.
Setups
We will follow the steps below for WebLogic server installation.
1.Operating System Configuration
Create a new group and user for WebLogic installation.
Create the directories in which the Oracle software will be installed.
2. Install JDK
Installing the JDK is simply a matter of extracting it from the tarball.
After the extracting, you must set your environment “bash_profile” file.
3. Export Display
Since we will install WebLogic in GUI-mode, we need to configure the display on the server in order to get the image of the interface.
WebLogic GUI-Mode Installation
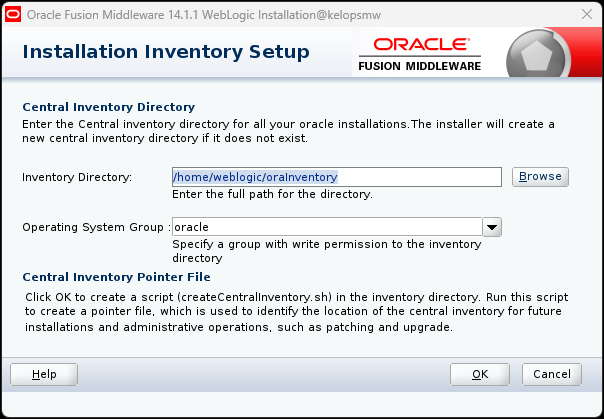
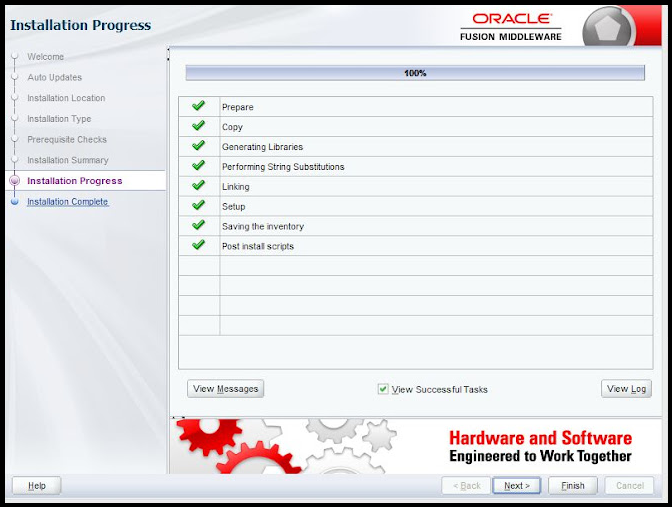
The following command shows how to initiate the installation in GUI mode.
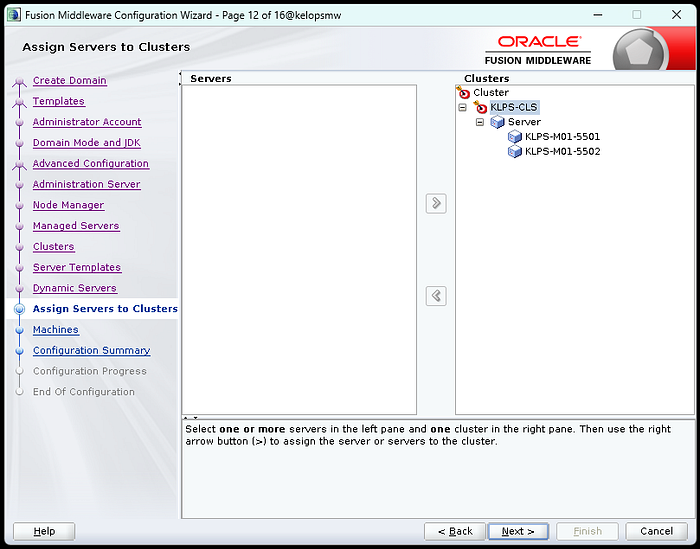
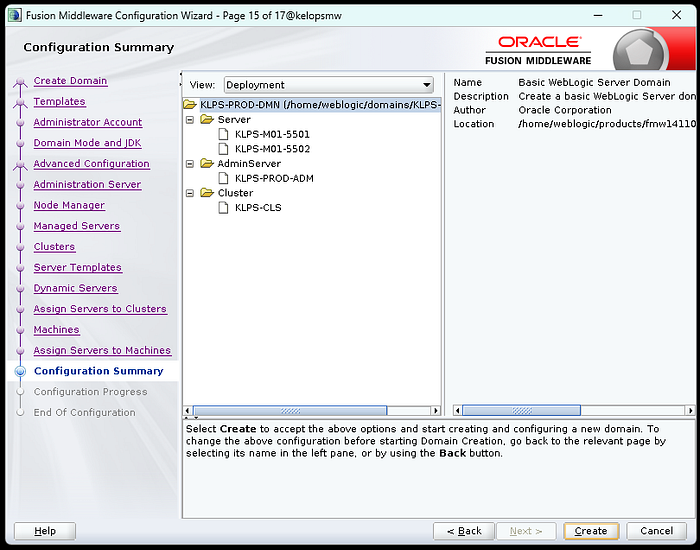
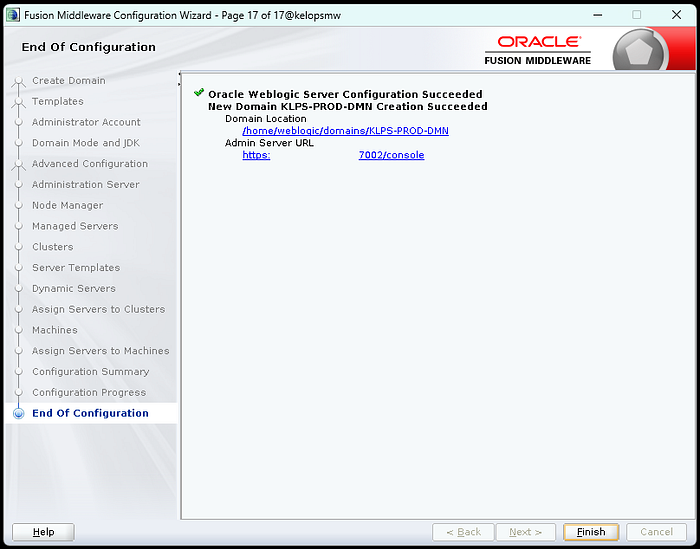
Next, we need to setup WebLogic Domain
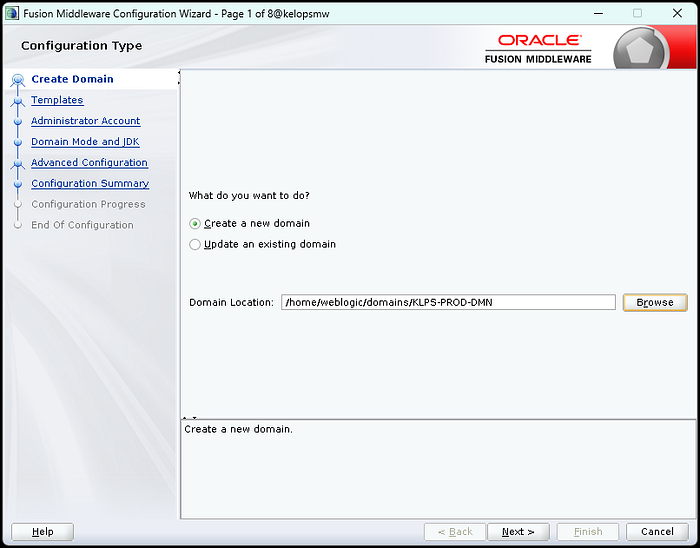
Launch the Configuration Wizard with the following command.
Accept the “Create a new domain” option, enter the domain name at the end of the “Domain Location”, then click the “Next” button.
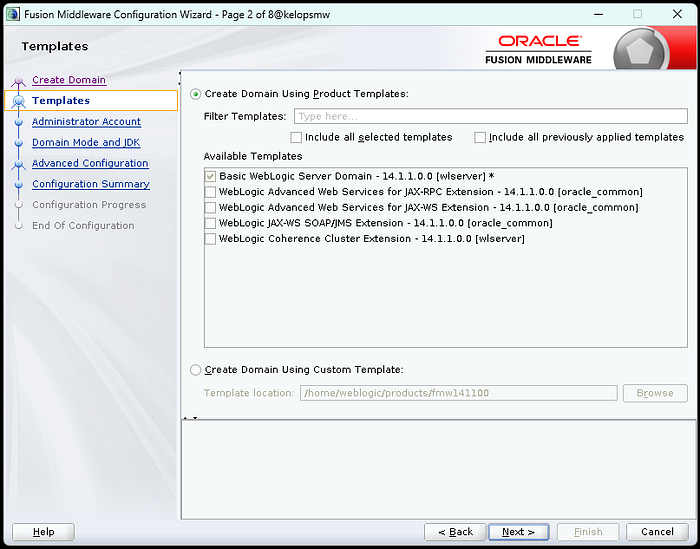
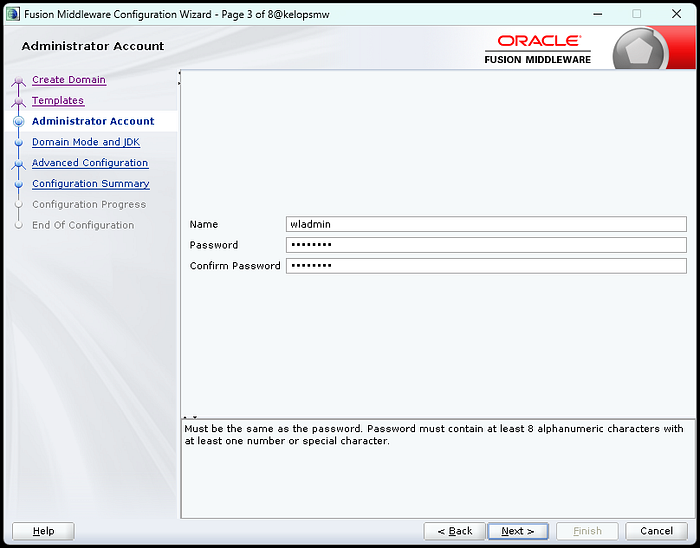
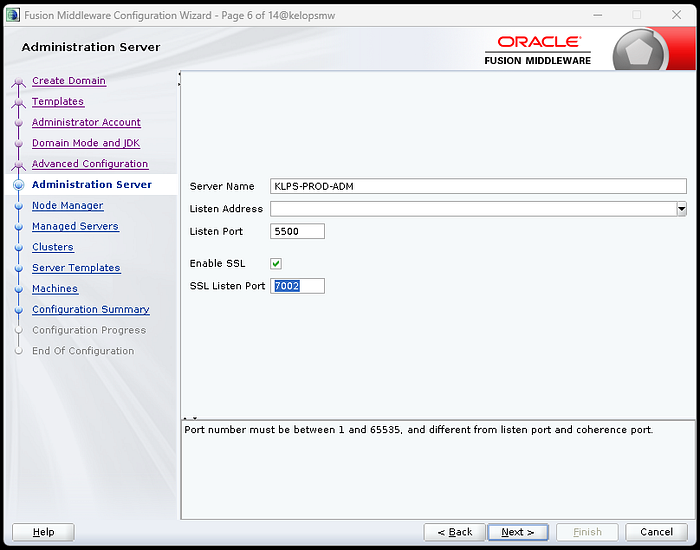
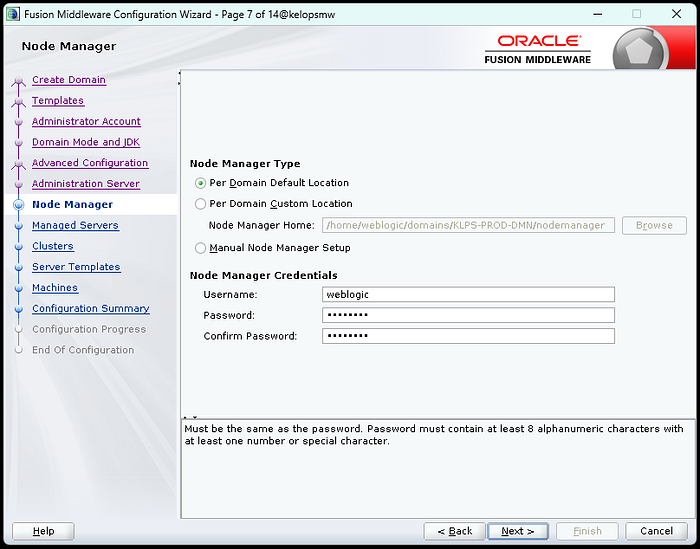
In the above study, I briefly explained the WebLogic Server and Domain installations to you. If you have any problems, please let me know. Thanks for reading.
Author: Umut Akantürk

